
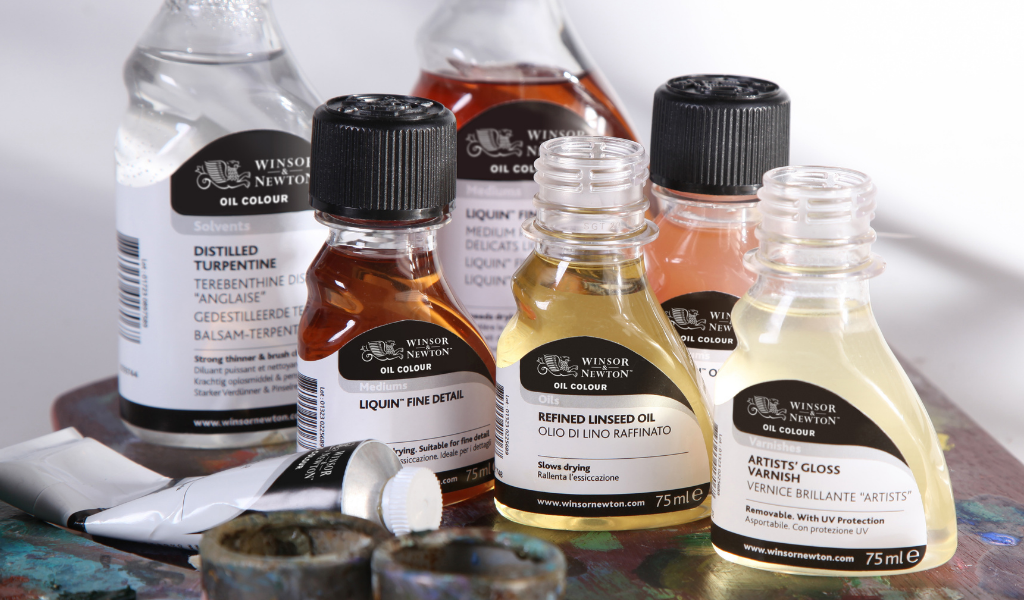
Oil paint can be used straight from the tube, but various additives allow you to adjust its properties to suit your painting technique. An additive can make the paint thinner or thicker, affect its drying time and sheen, and help create anything from thin glazes to textured layers of paint.
The choice can seem rather complicated at first. Faced with shelves of oils, alkyd mediums, solvents, drying agents and varnishes, it can be difficult to know which product you need in a particular situation. In this Oil Painting 101 article, we introduce the main types of oil painting additives and explain the role they play.
Why use oil painting additives?
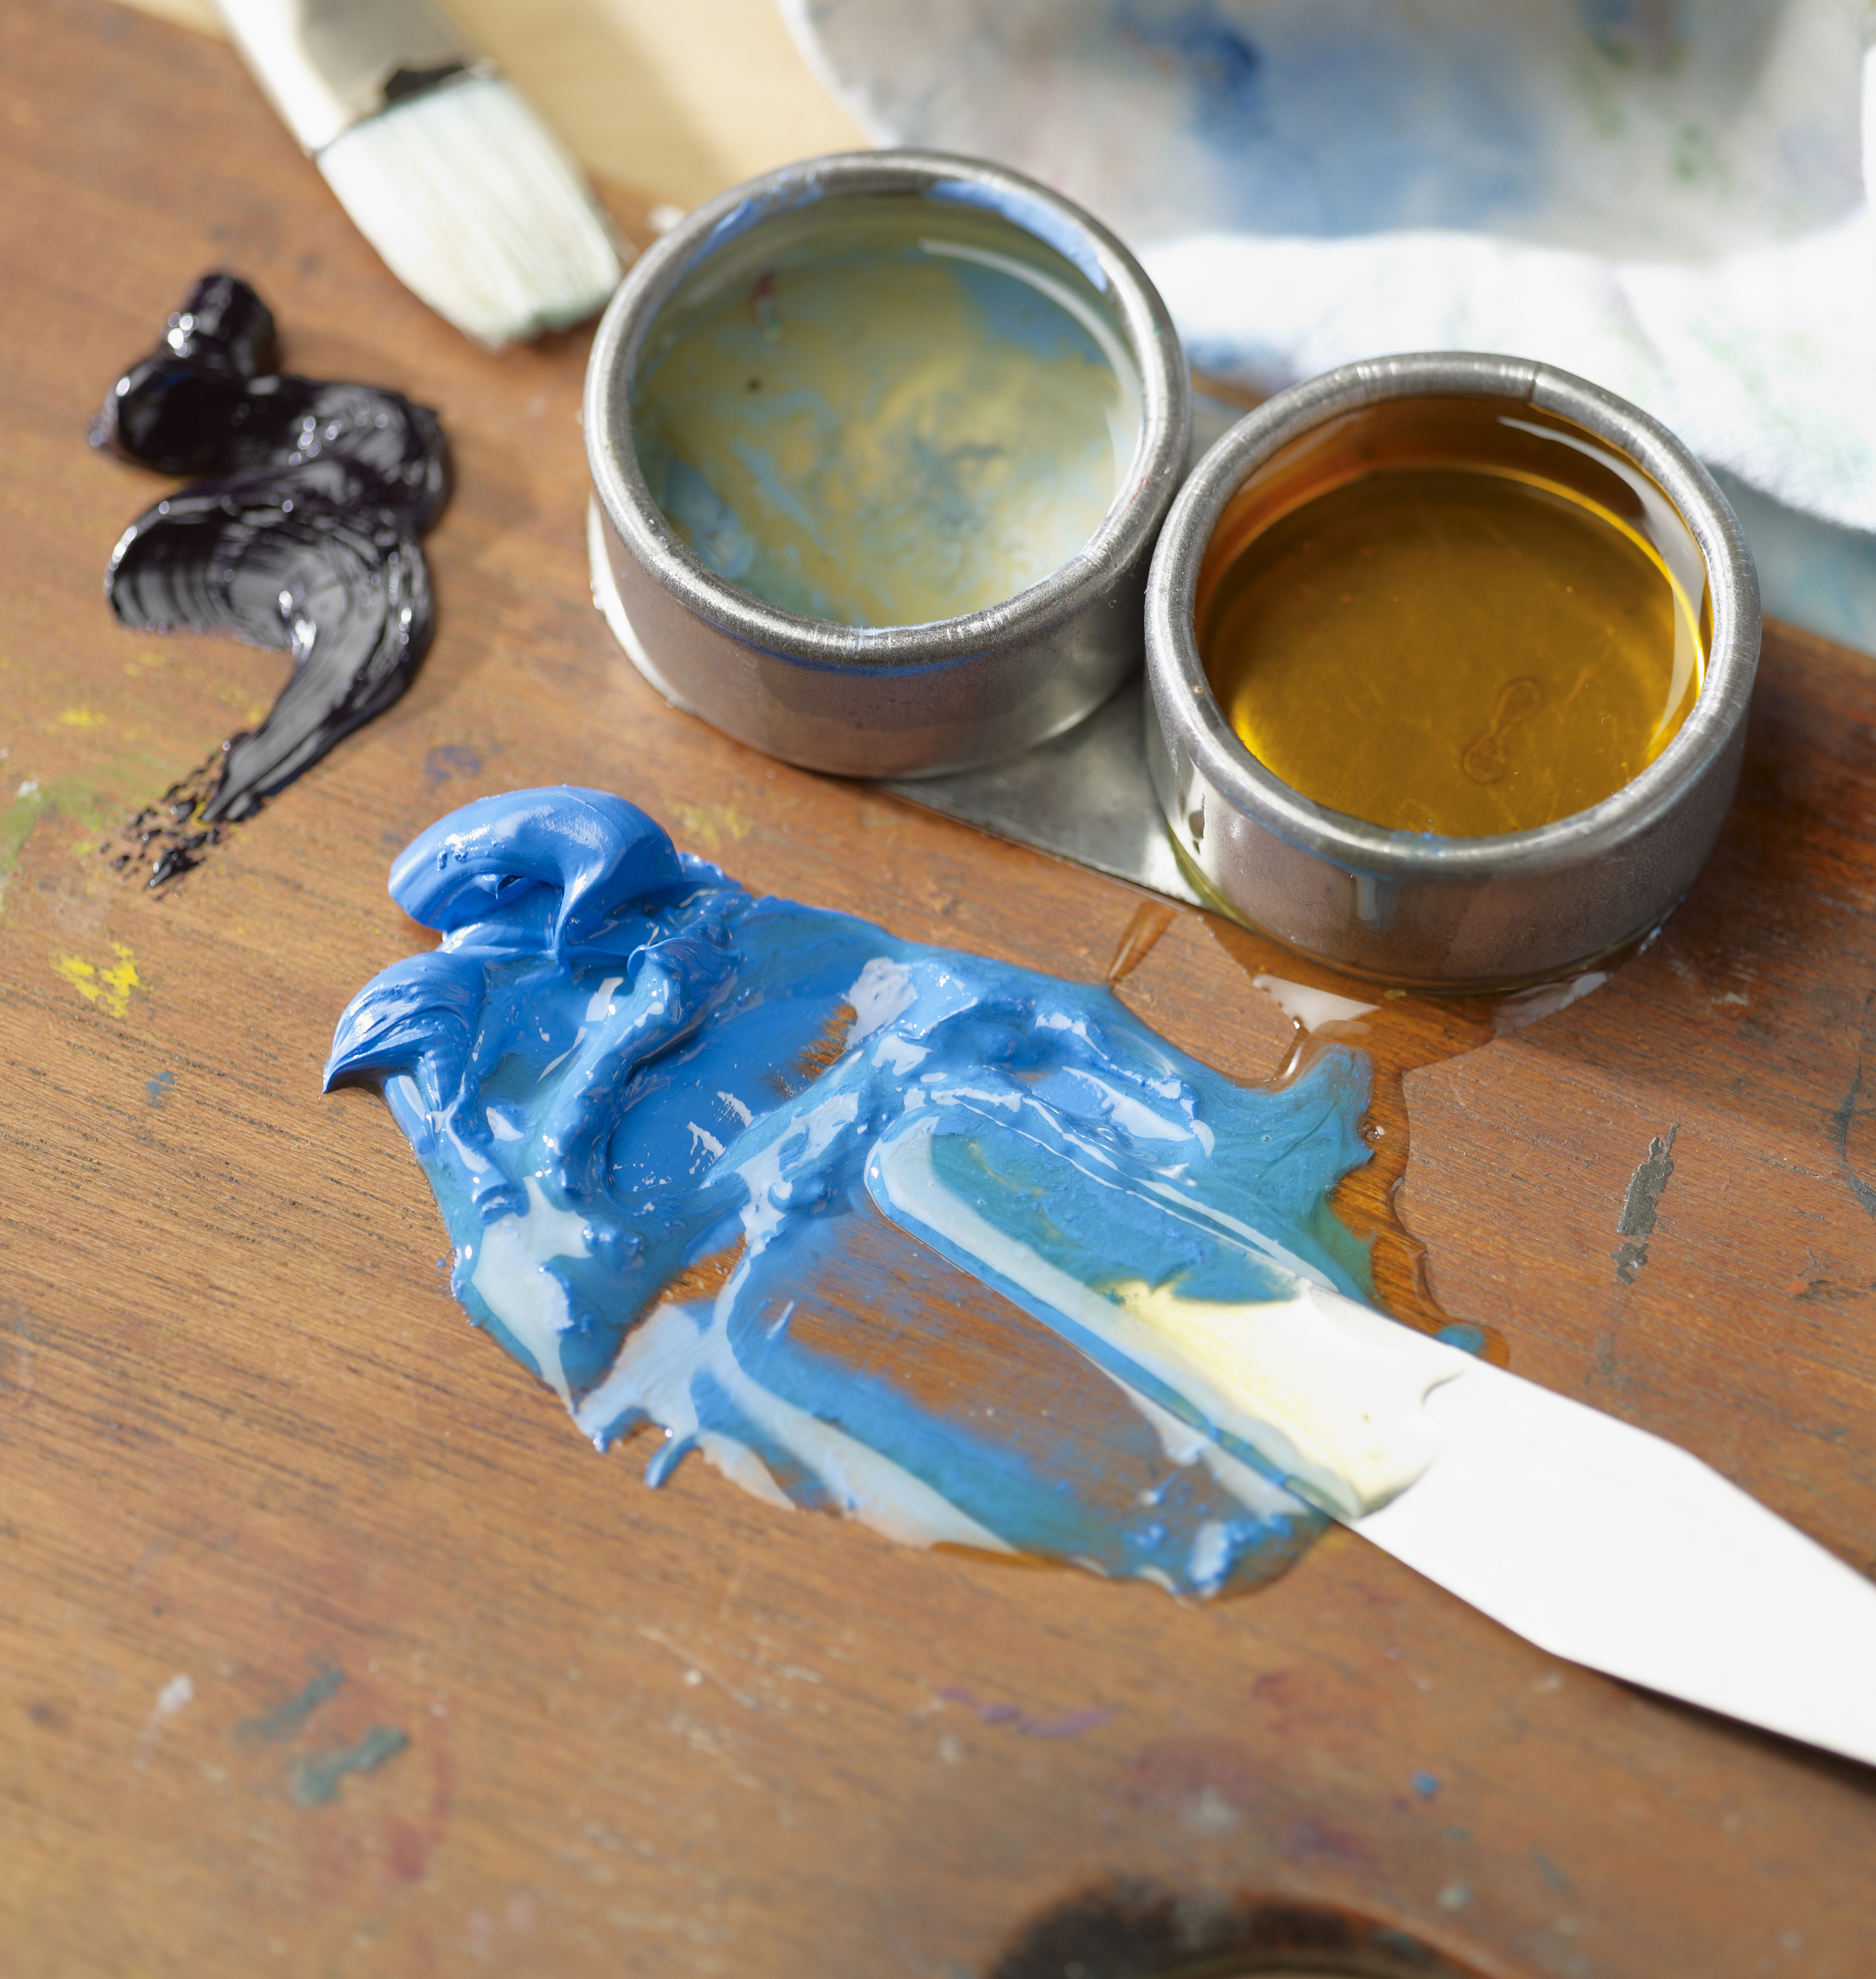
Oil painting additives are used to adjust the properties of paint to suit a particular technique or desired result. They can change its consistency, drying time, transparency and sheen, as well as how long it remains workable. For example, an additive can make thick oil paint flow more easily, help it dry faster or extend your working time. Other additives help create thin, transparent layers or retain the texture of brushstrokes and palette knife marks.
However, additives are not essential for oil painting. Paint can be used straight from the tube, and an additive becomes useful when you want to adjust its natural properties for a particular technique or result. A good starting point is therefore to ask: “What do I want to change about my paint?” Once you know the result you are looking for, choosing a suitable oil, medium or other additive becomes much easier.
What types of products are used in oil painting?
The easiest way to understand oil painting additives is to group the products according to their purpose. Although a single product can affect several properties at once, most supplementary products used in oil painting fall into four main groups.
- Oils are the most traditional oil painting additives. Linseed oil, poppyseed oil and their various forms improve the flow of the paint and generally increase its gloss. Adding oil also makes the paint layer fatter and may extend its drying time. However, not all oils behave in the same way. Refined, cold-pressed and thickened linseed oils, for example, differ in consistency, drying time and how they can be used.
- Ready-made mediums often combine the properties of several ingredients, allowing you to adjust the behaviour of the paint more precisely. These include alkyd mediums that speed up drying, more fluid mediums intended for glazing and detail work, and thicker gels and impasto mediums. A ready-made medium can be a convenient choice when you want a particular result without mixing the proportions of oil and solvent yourself.
- Solvents thin oil paint without adding more oil. Examples include turpentine and white spirit. Solvents are mainly used in the initial thin layers of a painting, but they are also useful for cleaning tools. However, a solvent is not a substitute for oil or a painting medium, and thinning the paint with solvent alone throughout the painting can leave the paint layers underbound and weak.
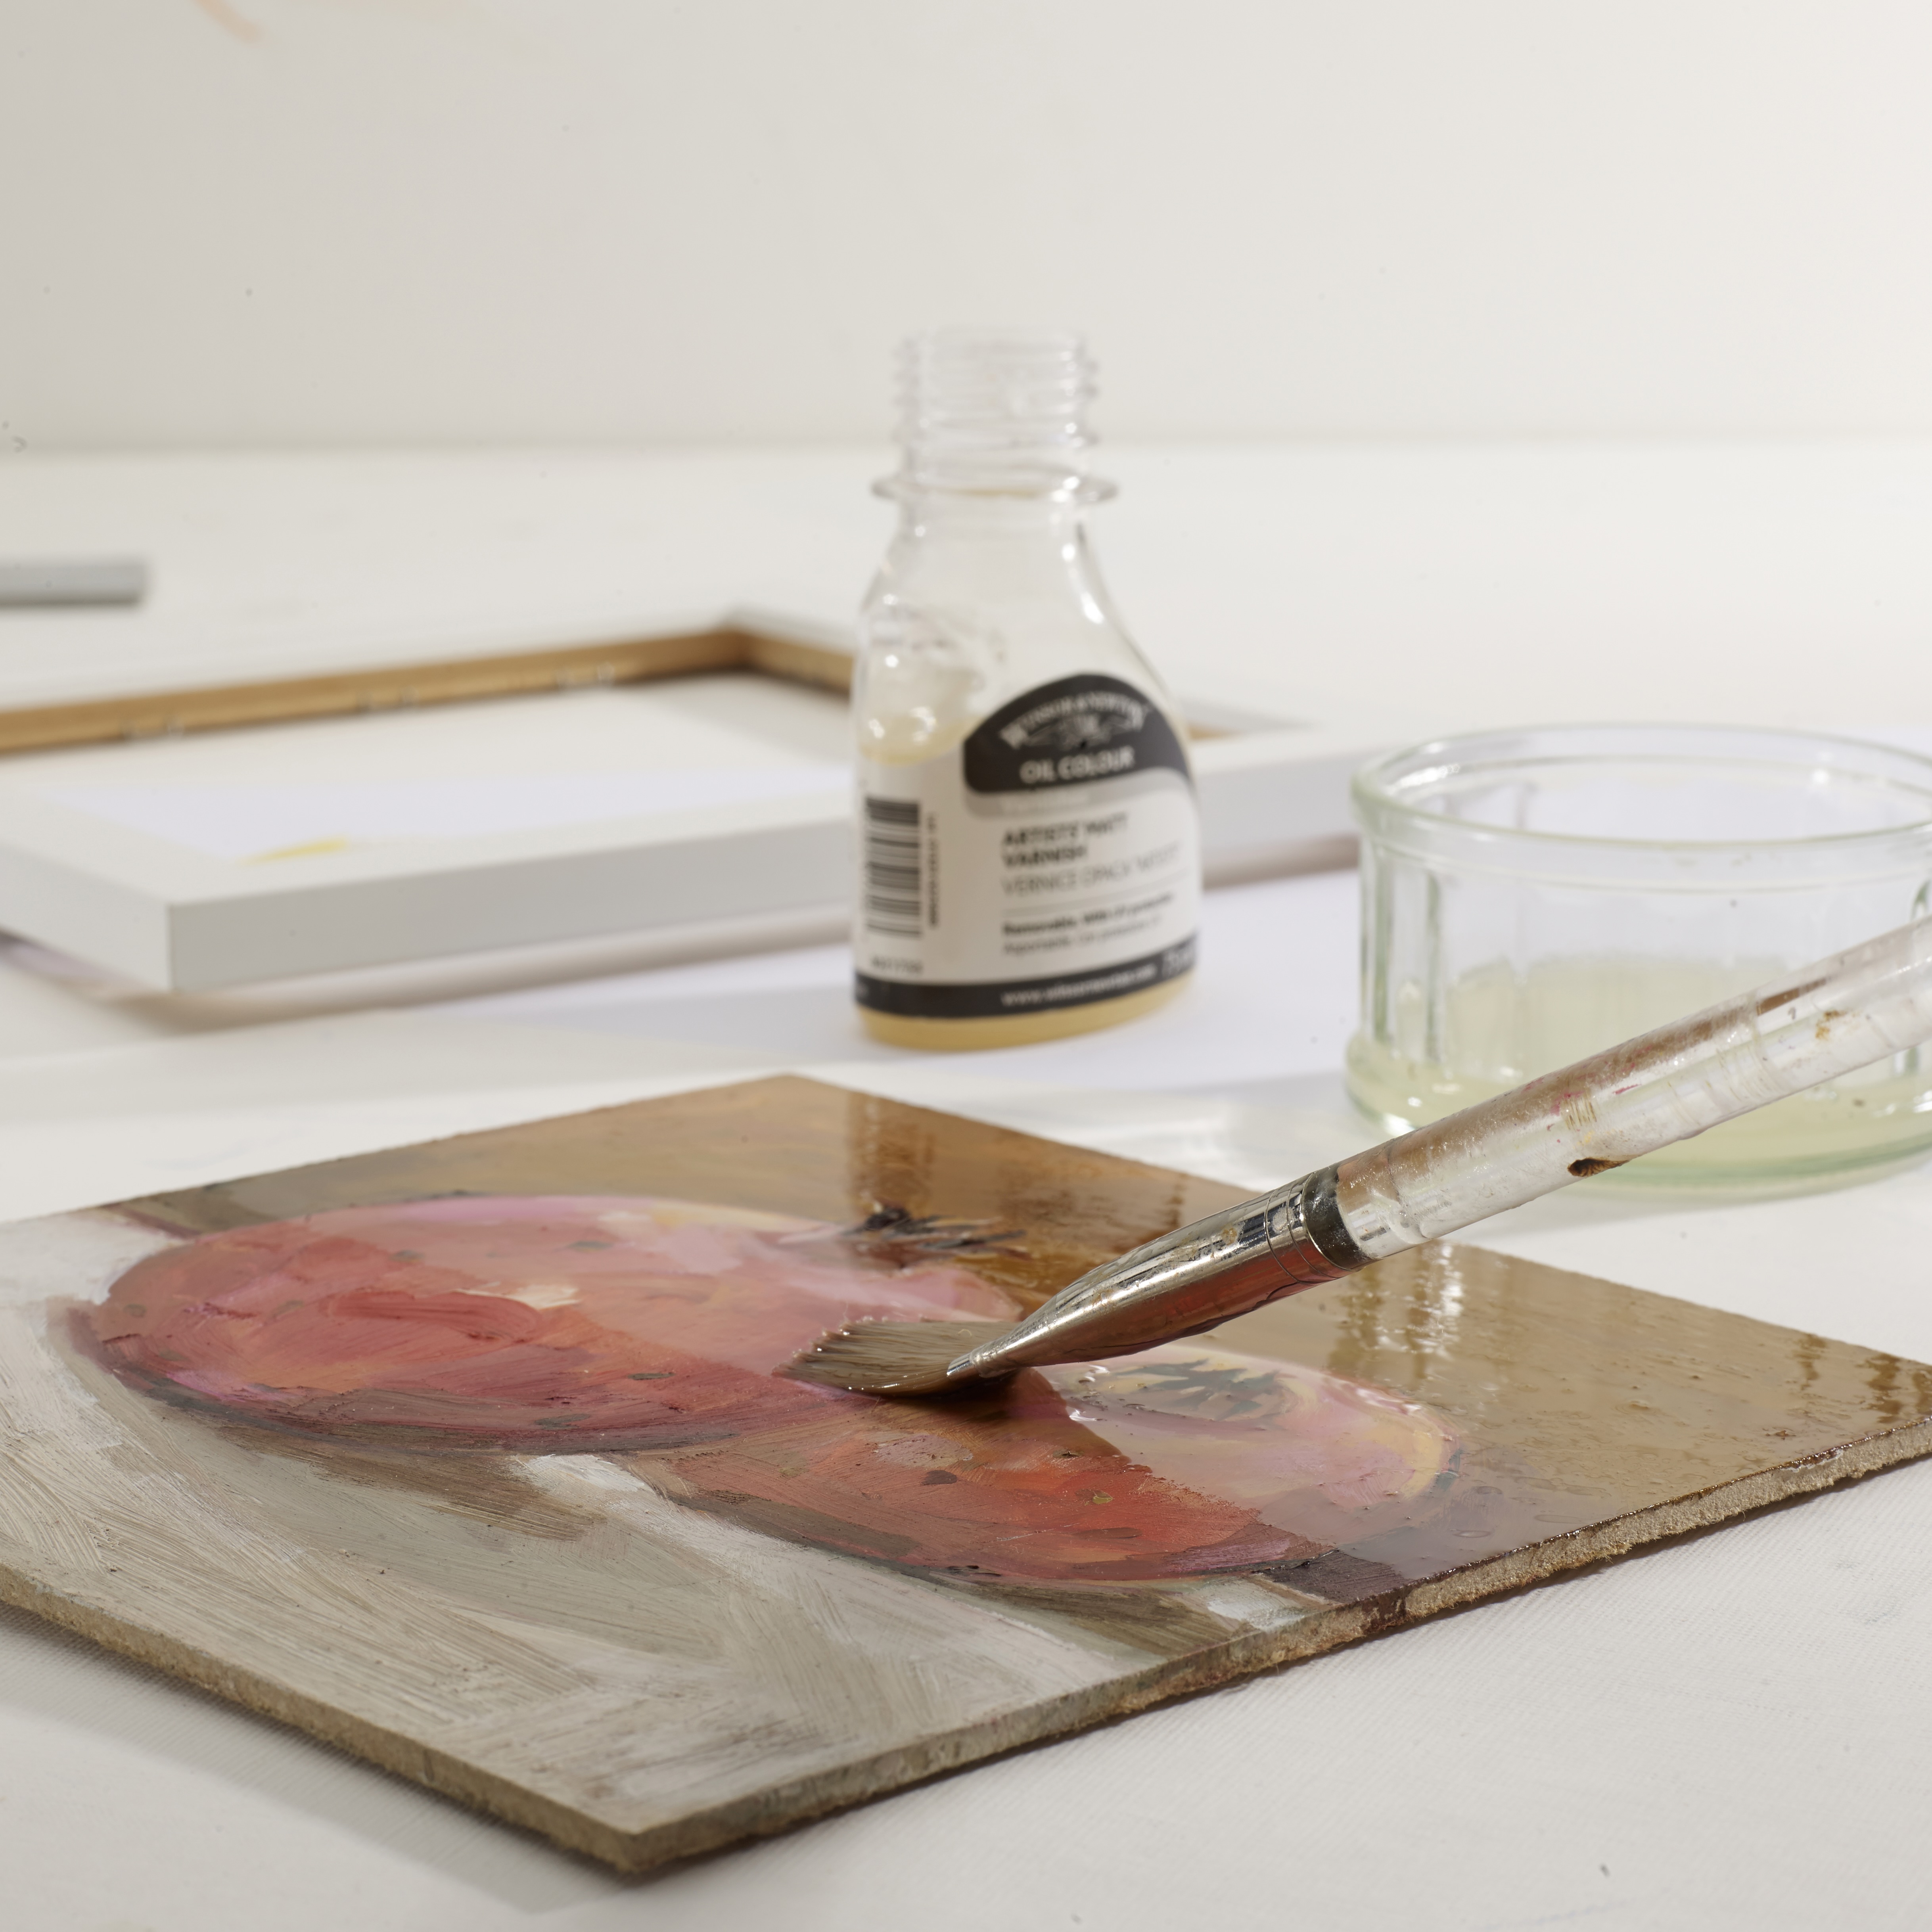
- Varnishes differ from the previous groups because they are generally applied after the painting is finished. A varnish forms a protective layer over the painting and helps even out the surface sheen. Depending on the desired finish, you can choose a gloss, matt or satin varnish. Alongside final varnishes, there are also retouching varnishes, which are used during the painting process or before the final varnish is applied.
- Mixing your own painting medium. Traditionally, oil painters have made their own mediums by combining ingredients such as oil and solvent, adjusting the proportions according to the properties they want to give the paint. Unlike a ready-made medium, whose formulation has been determined by the manufacturer, mixing your own allows greater control over its composition and properties. Beginners do not need to make their own painting medium, and a ready-made product is often an easier starting point.
What should you consider when painting in layers?
You can work with oil paint in a single layer or build up a painting gradually using several layers. When painting in layers, it is important to consider not only the effect an additive has on the paint, but also how the different layers dry and the order in which they are applied.
Oil painting follows the principle of fat over lean. This means that each successive layer should contain more oil than the one beneath it. The lower layers therefore usually contain less oil and, where needed, more solvent, while subsequent layers gradually move towards mixtures with a higher oil content.
The reason lies in the way oil paint dries. Layers with a higher oil content dry more slowly and remain more flexible. If a slower-drying layer sits beneath a faster-drying one, the upper layer may harden while the lower layer is still drying. These differences in drying speed can eventually cause the paint surface to crack.
This is also why turpentine or another solvent alone is not enough when adjusting paint for layered work. A solvent is useful for thinning the initial layers, but as the painting progresses, you need to consider the oil content of the paint and gradually move towards using oil or a suitable medium.
Which oil painting additive should you choose?
The wide range of oil painting additives can seem more complicated on the shelf than it really is. You do not need every product for a single painting, and often just one or two products suited to your usual way of working will be enough.
If you want to improve the flow of the paint or adjust its drying time, consider the different oils and ready-made mediums. Alkyd mediums are useful for faster-drying layers, while traditional oils allow a longer working time. A solvent may be useful for the first thin layers, while a dedicated impasto or gel medium is worth considering for thicker, more textured painting. Once the painting is finished, varnish provides protection.
The most important thing is to know which property of the paint you want to change. From there, finding the right additive becomes much easier.
Although the range of oil painting additives is broad, understanding their differences gives you more control over how your paint behaves. Knowing what a particular product does allows you to choose it according to your technique and the result you want to achieve.


